From Bras to Bags
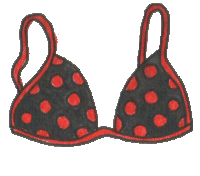
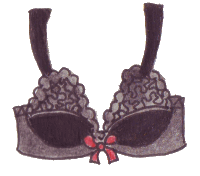
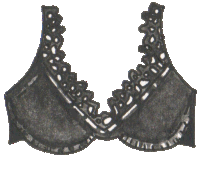
You could always buy a new one to save embarrassment! They can be bought really cheaply these days, although this may stifle your creativity as they are usually so pretty that you feel they don′t need embellishment.
There is very little stitching in the construction of this bag and it is really not necessary to use a sewing machine as it can be done much more easily by hand.

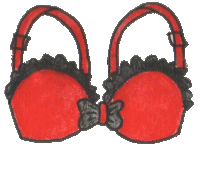
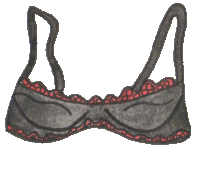
The Finished Bra-Bag
Materials
In addition to the bra you will need a small quantity of lining material and anything that you fancy to decorate the bra. This could be sequins, ribbons, buttons, beads in addition to any hand or machine embroidery.
Most bras are made from manmade fabrics so if you choose to dye your bra, you will need transfer dye in your chosen colour. This dye is quite different from the Dylon that is readily available for natural fibres.
For suppliers of dyes and other materials see the Links page.

Dyeing
You can also dye any scraps of synthetic lace or ribbon using this method.

Cutting
Stitch the loose end of the strap to the opposite side of the cup to make a handle. If you have a bra with a large cup take in a pleat or two down the length of the cup.

Lining
Next cut 2 pieces of lining material, adding about 1cm all around for seam allowance. Join these pieces together by stitching around the curved edge at the bottom and up the side as shown.
I would recommend that you do this with a sewing machine but it is not strictly necessary.


Decoration
If you plan to add any kind of frill to the bag, measure the edge you plan to trim and cut a minimum of twice this length from the lace you plan to use. Remember to cut two lengths, one for each side! Gather this up by stitching a long running stitch aIong the edge and then pulling it up to the final length. Pin each end of the lace onto the end of the bra and ease the remainder of the length into place giving and even frill.
Once all the embellishment is complete, it is time to assemble the bag.

Assembly
Stretch one piece of the elastic as much as you can, and pin it in place around the top of each cup on the inside. Remember to leave enough room at the top so that it can be easily covered when the lining is inserted. If you have a larger bra, you may want to use the third and fourth pieces of elastic in the same way but lower down, around the centre seam of each cup.

Finally use the back fastening of the bra as a clasp by joining it to the top centre of each side of the bag, line the two pieces up carefully so they give a neat finish.
Join the two halves around the curved underwired portion of the bag. It is probably easiest to do this with a stab stitch.
To complete the bag, insert the lining. This will probably be quite large but will give a nice full effect. Stretch out the elasticated top to allow the full width of the lining to be pinned into place, turning the top edge under.
You should now be the proud owner of your own bra bag! Individually designed and customised. See how many people recognise it for what it is!
